Got a greasy deep fryer that’s seen better days? You’re not alone. Cleaning it might seem hard, but I’ve got good news: the “How To Boil Out A Deep Fryer” method is here to help. This guide will show you an easy way to get your fryer looking new again. Let’s make cleaning less of a chore!
Importance of Regular Deep Fryer Cleaning
So, you know why you’re here. Keeping those deep fryers clean is not just about making them shine; it’s a big deal for your kitchen’s heartbeat. Think about it—good food quality and a safe spot to cook go hand in hand with regular scrubbing down of your equipment.
Those fries taste better when they’re cooked in clean oil, right? Plus, nobody wants an accident because we skipped on the cleaning.
Here’s the kicker: maintaining your fryer isn’t just about today or tomorrow. It’s about keeping that machine running smooth and efficient for years to come. You’ll see fewer breakdowns and save cash on repairs if you stick to a solid cleaning routine.
Checking out all the bits and pieces regularly means less trouble over time and ensures every meal comes out just right. And let’s not forget—when oil stays fresh, everything else follows suit from flavor to safety.
So yeah, rolling up sleeves for that deep clean? Absolutely worth it.
The Boiling Out Method for Deep Fryer Cleaning
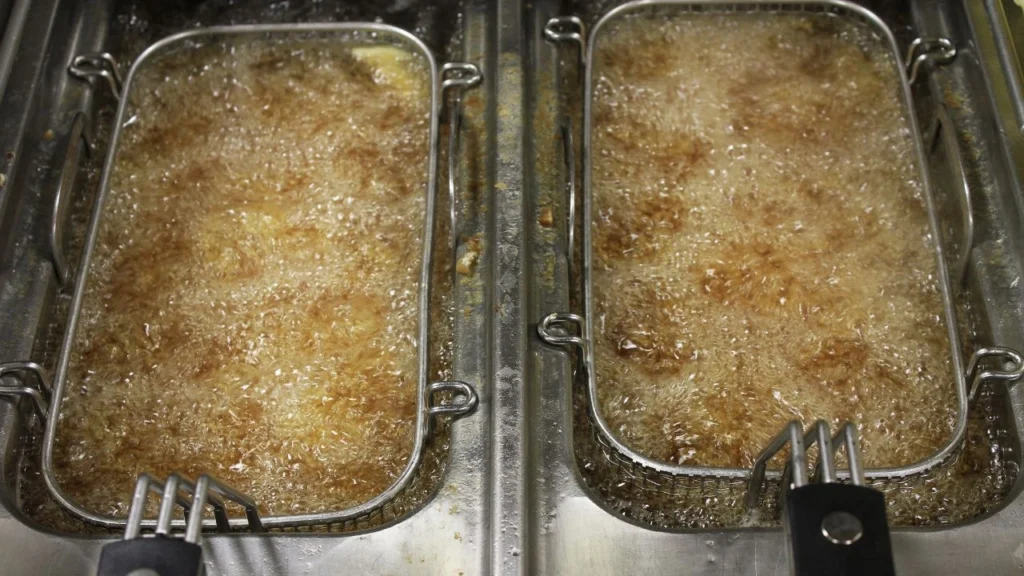
So, you’ve got a deep fryer that’s seen better days, huh? Well, the boiling out method is like a spa day for your fryer—getting into all those greasy nooks and crannies.
Steps for Boiling Out a Deep Fryer
Cleaning a deep fryer is like giving your kitchen a fresh start. It’s all about getting rid of the old to make way for the new, or in this case, clean and shiny surfaces. Here’s how you can boil out a deep fryer, step by step.
- Make sure your deep fryer is unplugged and completely cooled down. Safety first!
- Pour the used oil into a container. You can choose to dispose of it or recycle it, but get it out of there.
- Fill the deep fryer basin with water until it’s about three-quarters full.
- Squeeze in several drops of dish soap. This combo will work magic on grease and grime.
- Turn on the fryer and let the soapy water boil for 10 to 15 minutes. Watch as years of cooking sins disappear.
- Turn off the heat and let this soapy potion cool down a bit – no rush here.
- Once it’s safe to handle, throw out the dirty water safely down a sink or disposal area equipped to handle it.
- Rinse the basin with warm water thoroughly; you want no soap left behind.
- Grab a cloth or sponge and give the interior a good wipe down – leave no spot untouched.
Following these steps will ensure your deep fryer stays in top condition, ready for whatever frying adventure comes next!
Removing Leftover Oil
Now that you know the steps for boiling out a deep fryer, let’s tackle getting rid of that leftover oil. First things first, turn off and unplug your fryer. Safety comes first! Once it’s cool, drain the oil into a container.
Whether you’re tossing it or using it again, do this carefully to avoid spills.
Next up, figure out how to dispose of or reuse the oil according to local laws—no need for an oops moment with the health inspector. Handling hot water and soap next can be tricky, so keep those mitts handy for soaking the fryer basket without any mishaps.
Filling the Fryer with Hot Water
Fill your fryer to the brim with hot water. This is a vital phase in the boiling out process for deep frying utensil sanitation. The heat of the water aids in dislodging oil and residue, simplifying their subsequent removal.
Don’t overlook that the water should heat up to roughly 200°F (93°C). Allow this blend to rest for around 10-15 minutes prior to progressing.
Surely, a monitored pot may seem like it’s never reaching boiling point, but a fryer loaded with hot water inevitably will—just hang in there.
Moving on, we’ll infuse some excitement by introducing a cleaning agent into the equation.
Adding a Cleaning Agent
Now, grab your fryer cleaning solution or degreaser. Make sure it’s friendly with your fryer materials to avoid a kitchen mishap. Mix the agent with water following the recommended proportions on the label—this is key for both safety and getting those tough grease spots out.
Pour this mix into your fryer, but hey, no splashing! This step isn’t just about making bubbles—it helps in removing deep-seated grime and residue that plain water can’t handle alone.
Think of it as giving your fryer a bubble bath that strips away all its tiredness (and oiliness) from cooking up storms in the kitchen.
Boiling the Water and Cleaning Solution Mixture
Heat up the water and cleaning solution in your deep fryer. Let it boil slowly for 20 to 30 minutes. This step is key for loosening grease and residue that’s stuck like glue. Think of it as giving your fryer a spa day—it’s soaking in a hot bath, getting rid of all the stress (or in this case, gunk) from frying duty.
After letting the mixture do its magic for anywhere between 10 to 30 minutes, depending on how dirty your fryer is, you’re ready to move on. Next up: draining all that murky water away.
Draining the Solution
So, you’ve simmered the blend and now it’s the right moment to discard the cleaning liquid. Initially, do ensure it’s not excessively hot. Our aim here is to cleanse, not to scorch ourselves! You’ll decant the cool concoction into a reliable container.
Moving forward, wash the basin using warm water. Think of it as a rejuvenating bath for your fryer—helping you eliminate any residual soap or stubborn bits reluctant to leave. Reach every hidden corner; we don’t anticipate any startling findings next time we’re frying something.
And, well, thorough rinsing ensures those intrusive flavors stay away from your upcoming batch of crunchy treats.
Rinsing the Fryer
After you’ve drained the solution, it’s time to thoroughly wash your fryer. Allowing water to freely flow through it helps to ensure that no grime remains. Consider this step as a revitalizing bath for your fryer—both invigorating and essential for maintaining cleanliness.
Washing not only helps to remove any remaining residue but it also significantly contributes to the lifespan of your fryer. By making this a routine practice, you’re ensuring that your equipment receives the attention it requires to remain optimally clean.
Plus, it’s akin to pressing the reset button on your fryer, priming it for its upcoming culinary journeys.
Wiping Down the Interior
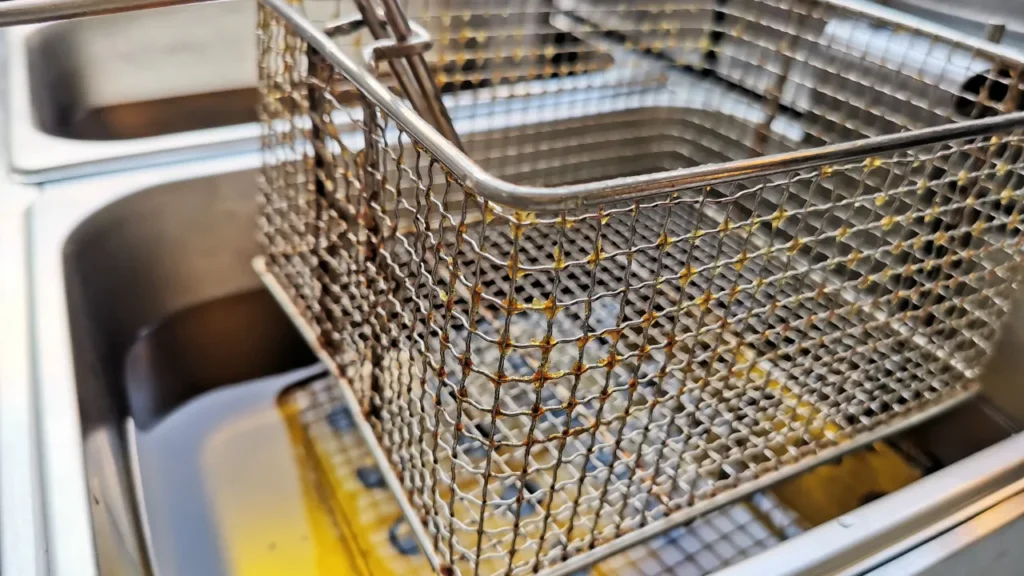
Once you’ve rinsed the fryer, it’s time for the next step. Grab a cloth and start wiping down the interior. This part is crucial because it gets rid of any last bits of grease or residue that might cling on.
The boil-out method made your job easier here—you won’t need to put in as much elbow grease compared to other methods.
Soak the fryer basket in hot soapy water too; this will handle any stubborn spots you missed. Then, give everything a good wipe—inside out. Make sure to dry the basin thoroughly before using it again.
This way, you keep your deep fryer not just clean but also ready for whipping up those tasty dishes without delay or hassle.
Recommended Cleaning Solutions
Boiling out your deep fryer is like giving it a spa day. It needs the right mix of cleaning solutions to get rid of grease and grime. Here are the top picks for getting your fryer back to shiny and new:
- A heavy-duty degreaser cuts through the toughest grease. Look for one that’s safe for kitchen equipment.
- Hot water is essential. It works with the degreaser to soften and lift oil residue.
- Non-abrasive scrub brushes help scrub away bits without scratching your fryer.
- Rubber gloves protect your hands from hot water and chemicals.
Next up, let’s talk safety precautions while boiling out your fryer.
Safety Precautions
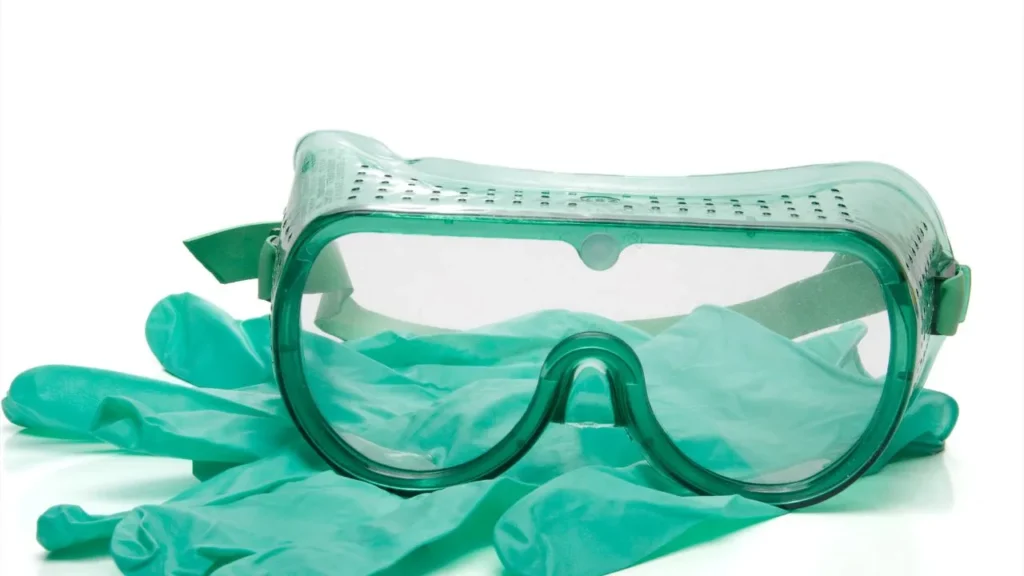
Safety first, right? Cleaning your deep fryer isn’t just about keeping it shiny; it’s about keeping you safe. Here are some steps to follow:
- Always unplug the fryer first. This might seem like a no-brainer, but it’s easy to forget when you’re in a hurry.
- Let it cool down completely before you touch anything. Hot oil can cause serious burns.
- Wear gloves to protect your hands. This keeps them safe from the hot water and any chemicals in the cleaning agents.
- Don’t rush when removing leftover oil. Take your time to avoid spills that can lead to slips or burns.
- Be careful with hot water when filling the fryer for boiling out. A splash can hurt a lot.
- Pick cleaning solutions that are meant for deep fryers. They work best and keep you safe from harmful chemicals.
- Follow directions on cleaning agents closely. Too much or too little can be dangerous or ineffective.
- Rinse well after draining the solution. You don’t want any cleaning agent left behind.
- Dry the interior properly before using again or storing away to prevent rust or damage.
Respect these precautions like you respect a hot grill – with lots of care and attention!
Maintaining Fryer Cleanliness
Keeping your fryer clean is like hitting the reset button for your kitchen’s workhorse. It ensures tasty, safe food every time and keeps the fire marshal at bay!
Tips for Regular Maintenance
Keeping your deep fryer clean is key to making it last longer. It’s all about keeping things running smoothly and the food tasting great. Here’s how you can do it:
- Filter oil daily. This step catches crumbs and bits that mess up oil quality. Your food stays yummy, and the fryer works better.
- Clean the outside of the fryer each week. A quick wipe keeps it looking good and stops grime build-up.
- Check your oil every day. If it looks or smells off, change it out.
- Do a deep clean with a boil-out monthly or weekly, depending on how busy your kitchen gets.
- After each use, let the fryer cool down before you clean it up.
- Make sure to dry your fryer well after rinsing it during cleaning sessions.
- Keep an eye on wear and tear of fryer parts, replacing anything that seems worn out to avoid bigger problems later on.
Implementing these steps ensures your deep fryer stays in top-notch condition, efficiency rocks, and your equipment lasts longer… While making sure every bite is as delicious as expected!
Frequency of Deep Cleaning
After you’ve got the hang of regular maintenance, let’s talk deep cleaning. You know your fryer needs it at least once a week. That’s non-negotiable if you want to keep things running smoothly.
But here’s the thing—the busier your kitchen gets, and depending on what’s sizzling in that oil, you might need to bump up that schedule. Think about it: frying chicken versus doughnuts leaves a different kind of mess.
So, how often should you roll up your sleeves for a thorough scrub? Well, it varies. The type of oil plays a part too. Some oils can take the heat better than others without breaking down into a sticky residue fast.
Bottom line: keep an eye on how gunky things get and adjust from there. A crispy-clean fryer isn’t just nice to have; it’s essential for whipping up those golden delights everyone loves—plus, it keeps your machine humming along for years.
Conclusion
So, you’ve got the scoop on boiling out your deep fryer. This method keeps it running smoothly and your food tasting great. Think of it like a spa day for your fryer – everyone needs one to feel their best.
Use the right cleaners, stick to a cleaning schedule, and always play it safe with hot oil and water. Your kitchen will thank you with every crispy, delicious bite that comes out of that fryer.
Happy cleaning!
FAQs
What’s the best way to boil out a deep fryer?
Boiling out a deep fryer is like giving it a spa day! It involves filling your fryer with water and a specialized cleaning solution, then turning up the heat. This process helps break down stubborn grime and grease.
Can I just scrub my deep fryer instead of boiling it out?
You could, but that would be like trying to clean an elephant with a toothbrush! Boiling allows you to reach every nook and cranny, ensuring thorough cleanliness.
Is there any specific cleaner I should use when boiling out my deep fryer?
Yes, indeed! There are cleaners specifically designed for this task – kind of like shampoo for your hair. These solutions help dissolve the tough oil residue commonly found in deep fryers.
How often should I boil out my deep fryer?
Think of it as spring cleaning; doing it once in awhile does wonders! Experts recommend boiling out your deep-fryer at least once every three months for optimal performance.
Resources
https://smartcaresolutions.com/news/how-to-clean-a-commercial-fryer/


